Rich Text Element
Getting Started
Rich Text Element allows you to make changes to your blog posts or custom collection items from your website builder. This article will cover how you can add a Rich Text Element to your website, use the element's features, and various use cases.
Adding Rich Text Element
To add a Rich Text Element to your web page, follow the steps with visuals listed below:
- Go to your Site Dashboard

- Click on the
+ Add New Sectionbutton on an empty page of your site, or select theAdd New Sectionoption on a page with existing elements.


- Go to
CMS Row with Columnstab

- Select a CMS Row with Column grid

- Connect it with a database by clicking on the
Connect to Databasebutton

- Choose Data Source as either
PostsorCustom Collection

- Click on Add Element on the empty section

- Add the
Rich Text ElementElement under the CMS Elements section.

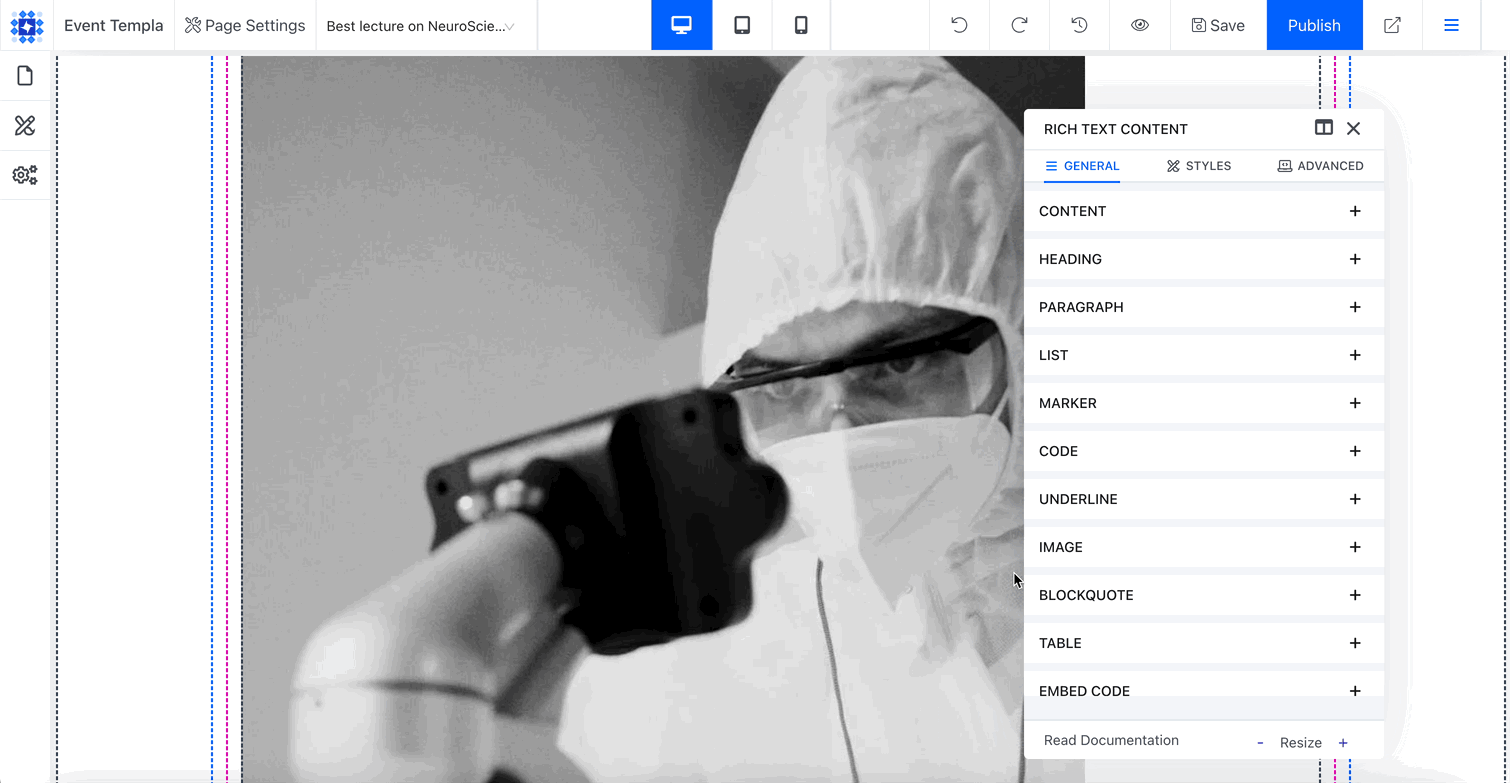
Rich Text Element Modal
Now we will look at what each feature is used for inside the Rich Text Element modal. Refer to the image below to see what the modal looks like:

Content
This option is used to choose the type of content you would like to add to your Rich Text Element.

Heading
This feature allows you to change all the headings in your content from H1 to H6. You can set alignments, adjust the size, add text-shadow, and more. Refer to the GIF below to see what options this feature has.

Paragraph
This feature is used to adjust the Paragraphs in your content. You can set alignments, adjust the size, add text-shadow, and more. Refer to the GIF below to see what options this feature has.

List
This feature is used to adjust the lists in your content. Refer to the GIF below to see how this feature works.

Marker
Marker is used to make adjustments to the texts that you have marked in your content. Refer to the GIF below to see how this feature works.

Code
If you have code written in your content and it is marked as code, you will be able to make adjustments to it from here. Refer to the GIF below to see how it works:

Underline
If you have any texts that marked as ‘Underlined’, you will be able to make adjustments to them through this feature. Refer to the GIF below to see how it works.

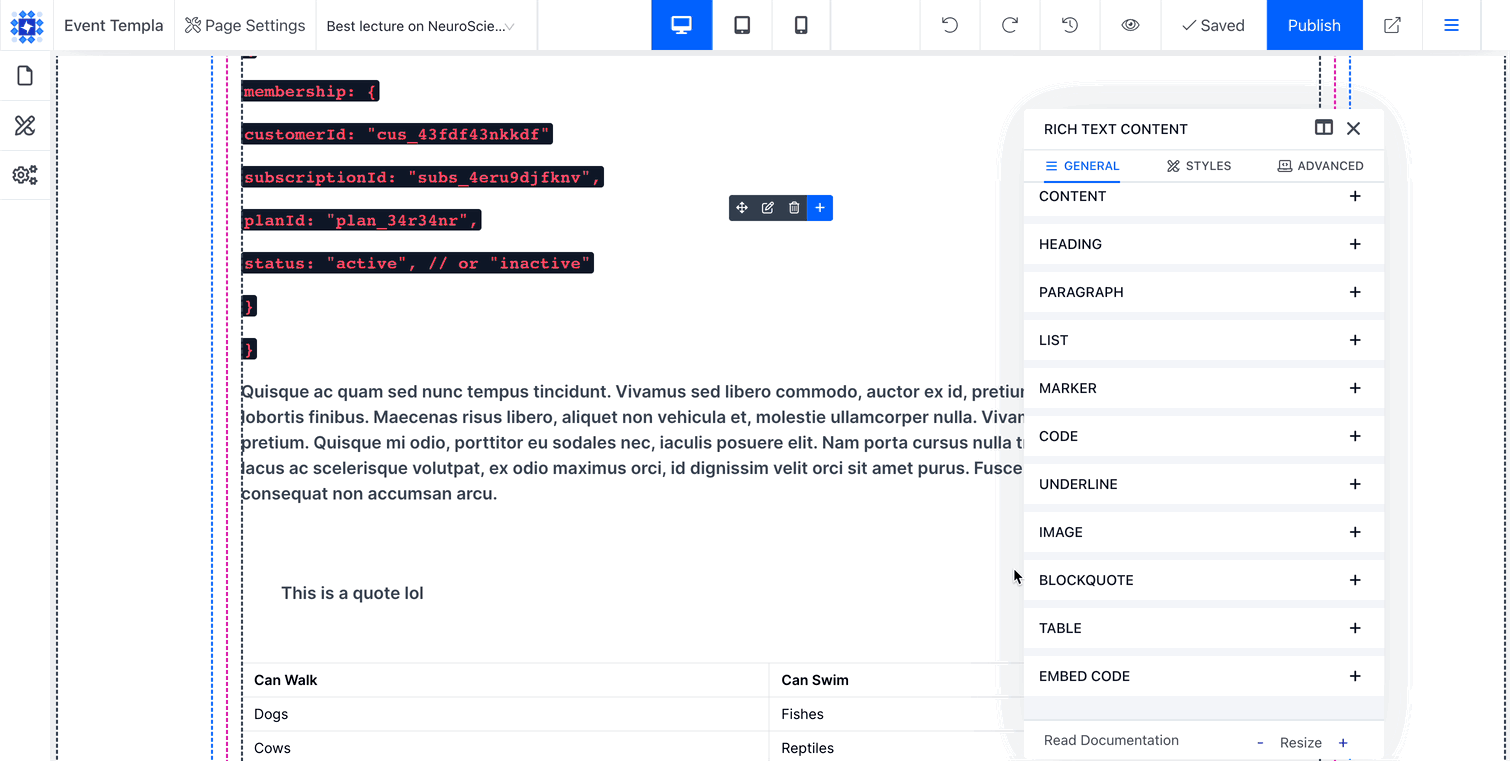
Image
If you have images in your content you will be able to make changes or adjustments to them by using this feature inside the Rich Text Element modal. Refer to the GIF below to see how it works:
Blockquote
With this option you will be able to make adjustments to any blockquote in your content. Refer to the GIF below to see how it works:
Table
If you have a table in your content, you can make adjustments to it using this option. Refer to the GIF below to see how this works:

Embed Code
If you have used the Raw HTML <> feature in your content, you will be able to make adjustments to your embed using this option. Refer to the GIF below to see how this works:

Rich Text Element in Custom Collection Templates
If you want to make changes to the contents in your Custom Collection items, you will need to add a Rich Text Element manually in order to do that.
Refer to the GIF below to see how it works:

Updated on: 15/05/2024
Thank you!